Document review programming:
Familiar with the drawings, including familiarity with the plan and sectional drawings, understand the required size, color, shape, and the meaning of each part of the code; familiar with the exploded view of the countertop components, clarify the front and rear baffle, return side strip, water retaining strip, panel size.
Material selection:
1. Choose the appropriate specification plate according to the size of the table. Please carefully check whether the batch number is consistent before opening the material to avoid the color difference of the plate.
2. For the board with cracks and defects, it should be clear whether it can be avoided during the reprocessing so that no spots will be found after completion, which will cause serious economic losses.

Opening material:
1. Before cutting the material, you must read the drawing to avoid dimensional errors, conceive how to open the material in order, and have a good idea of the material to meet the requirements of the drawing and save materials.
2. Before opening the large board, first check whether the remaining materials are suitable for use, and check whether the colors are consistent, and visually check whether there are board defects.
3. The material cutting is based on the principle that the utilization rate of the material reaches 90%, and the width of the remaining material can exceed 60mm.
4. Try to avoid the splicing of the back wall, and the front edge can be polished after proper joining.
5. The hand cutter can be used with the hedge trimmer.
6. Make sure to reserve a 3-5mm expansion gap on the wall.
7. The cutting speed is 4m/min.
8. After cutting the material, check the size of each plate against the drawing, the section position, the material, the single number, the address and the joint should be clearly written, and the next process should be explained clearly.
Trimming:
1. Use a gong machine and aluminum baffle to straighten the cut edge to meet the requirements.
2. Try to assemble according to the component drawing, and check whether the joints between the components are tightly seamed and even;
3. Use a gong machine, an air mill, or a sandboard (self-made) to correct the uneven seam;
4. The tighter the joints are seamed and even, the less the amount of polishing, the better the appearance.
Stitching:
1. The products passed from the previous process must be inspected, and unqualified products should be rejected!
2. Before gluing the worktop, you must read the drawing, understand the relationship between all the joined worktops and the entire set of worktops, and receive the glue, straight edge, and front edge materials required for the worktop.
3. Set up a special person to adjust the color of the glue. The glue must be adjusted in a bucket to avoid waste. The color of the glue should be as close to the color of the board as possible. When the glue is glued, the team leader must agree that the color matches the countertop. be usable.
4. When using quick-drying glue, add it in accordance with the ratio of glue and curing agent indicated in the manual. It is strictly forbidden to add a large amount of curing agent to affect the firmness of the joint and the color variation. Strictly control the amount of glue each time to avoid waste. (Increase or decrease dosage according to weather and temperature conditions)
5. When joining straight edges, the surface to be pasted should be thoroughly clean, dry, and flat, clean and dry the bonding surface, and evenly apply the same color glue within 15mm of the bottom large panel edge, and place the straight edge strip on the glue and rub it left and right. Squeeze out the air, use a clamp to cooperate with the rubber clock, and clamp the straight edge bar to the large board with moderate force. Place clamps every 5-10 cm. After semi-dry, remove the glue that overflows on the back. After the edge strips are bonded (after drying), use the same color glue to connect the same color quartz stone reinforcement to connect the straight edge to the board surface, and finally use the same color glue Equipped with clips to smoothly bond the lining wooden strips to the board. (Flat type)
6. To join the front edge, first, use the same color glue of quick-drying glue to fix the quartz stone reinforcement material to the bottom of the board according to the straight edge gluing method. After the glue is dry, apply the same color glue evenly on the back of the front edge to make a suitable Use force to match the rubber bell to fasten the front edge and the bonded reinforcement. When the glue is half dry, use a small blade to scrape off the overflowing glue. Finally, use glue and clamps to smoothly bond the lining wooden strip to the board. . (Horizontal type) ※: The bottom is absolutely flat. The bottom of all fixtures must be clamped under the wooden side of the workbench, and can not directly touch the smooth surface, try to control the level of the splicing place to be consistent, and reduce polishing.
Edge processing:
1. The products passed from the previous process must be inspected, and unqualified products should be rejected.
2. Edge processing includes back wall edge, straight edge, bevel edge, front edge, special-shaped edge, etc. All water-polished edges are required to reach the surface brightness close to the original factory.
3. Straight edges such as a back wall, beveled edges, front edges, etc., are first shaped by edging. If you use manual edging, you must ensure that the linear deviation is within 0.5mm and strictly follow the standards of the system.
4. Maintain the inherent shape of the edge of the board during water milling. Water milling only plays the role of polishing and cannot change its shape.
5. The use of edging ranges from 50, 100, 150, 300, 500, 800, 1000, 1500, 2000, 3000#. The water mill must ensure that each water mill is completely polished in place. The standard can be 50#150 #1000#1500#2000#3000# For the six-channel water mill, sufficient water should be given during the water grinding to prevent the surface from being burnt during fine grinding. The speed of the mill is 4000r.pm.
6. When sanding, the bottom of the countertop must be straight and the height of multiple countertops should be the same to prevent uneven height on both sides and the middle.
If necessary, use fine sandpaper for fine polishing.
Opening:
Slotting:
After any openings are marked and positioned, they must be reviewed and confirmed by the team leader before cutting. All operations must be coordinated with cooling water.
1. The products passed from the previous process must be inspected, and unqualified products should be rejected.
2. Read the size of the drawing before marking the hole. Pay special attention to the relationship between the centerline or the sideline and the centerline or sideline due to the combination of the segment and the block table.
3. The opening must be carried out on a wooden workbench supported by a large surface. Hanging operations are strictly prohibited to prevent cracks due to falling off.
4. Prepare the faucet and gas hole template, use a hand drill, install the diamond drill bit, fix the wood mold hole on the table, and slowly drill down the wood mold hole.
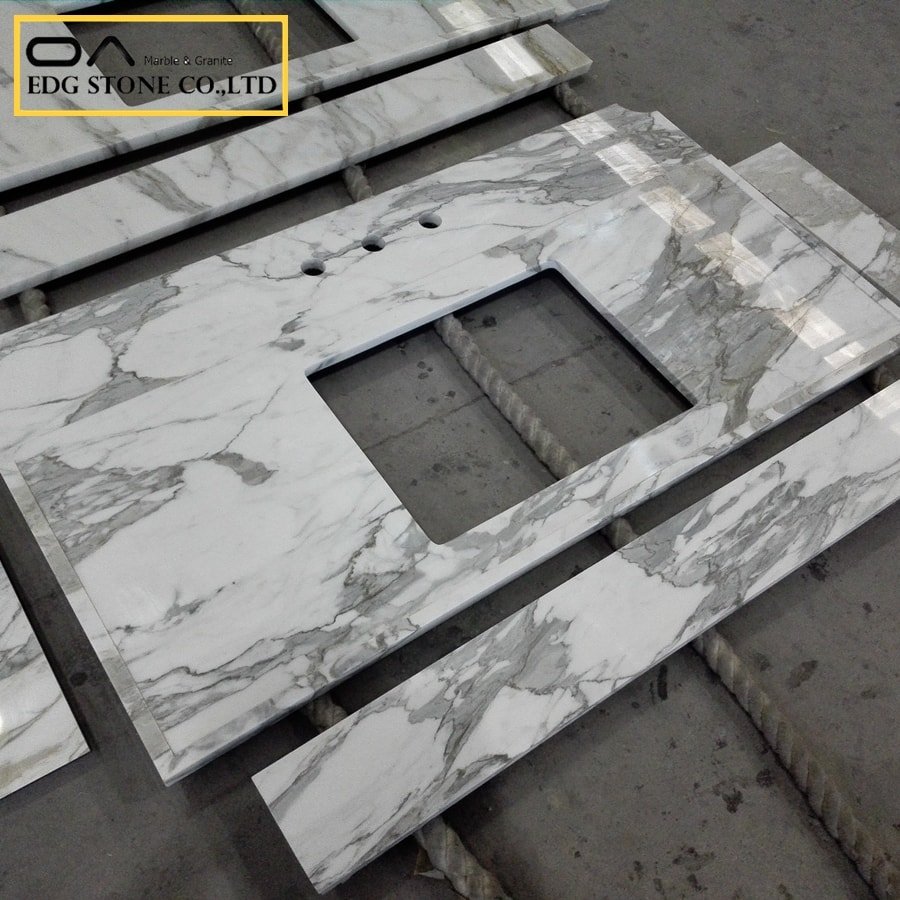
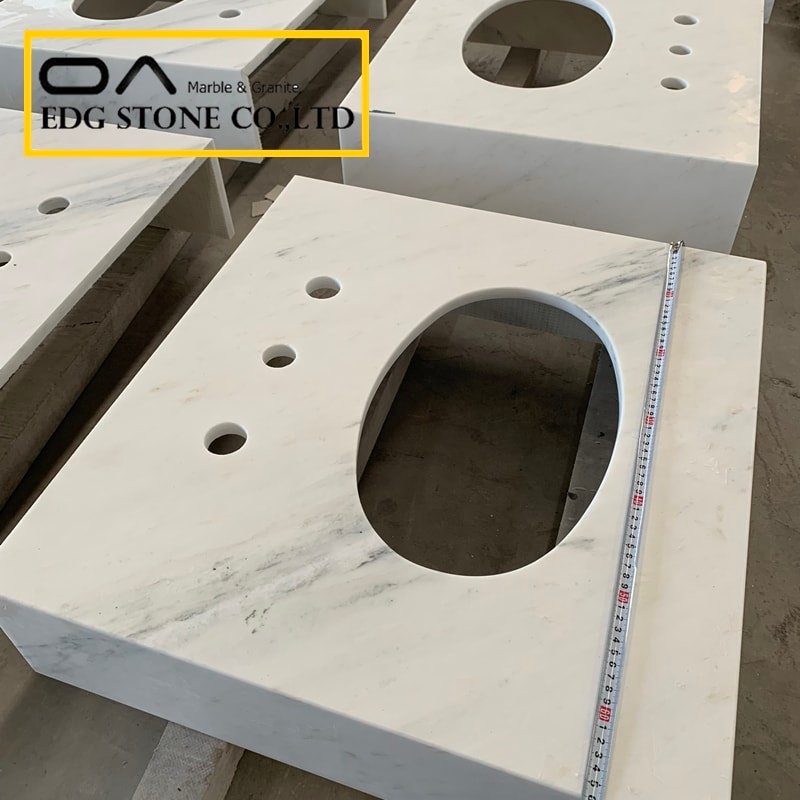
5. Hole for sink and basin:
① Leave a gap of 2mm on all four sides of the above counter basin.
② After the line is drawn on the board, in order to avoid the extension of the cutting line and the corners of the cracks, a hole of 75px or more must be drilled in the opening corner, and then use a hand cutter to cut along the inside of the hole, and leave the corner as large as possible Rounded corners. (The back wall can be covered)
6. Opening of the furnace:
① Ensure the gap between the sagging perimeter of the furnace body and the perimeter of the furnace hole over 75px.
② After the line is drawn on the board, in order to avoid the extension of the cutting line and the corners of the cracks, a hole of 75px or more must be drilled in the opening corner, and then use a hand cutter to cut along the inside of the hole, and leave the corner as large as possible Rounded corners. (The back wall can be covered)
7. Use curved quartz stones to reinforce the four corners of the hole.
8. Use 25mm wide stone bars to reinforce around the hole.
9. All sinkholes, basin holes, and furnace holes on the counter must be polished with three water mills, namely 50#, 150#, 500#, to ensure that the holes are smooth and free of teeth.
Cut corner:
1. After any cut corners and lines are well positioned, they must be reviewed and confirmed by the team leader before cutting. All operations must be equipped with cooling water. After the lines are drawn on the board, in order to avoid the extension of the cutting and the cracks in the corners, it must be Drill a hole of 75px or more on the corner of the chamfer and then use a hand cutter to cut along the inside of the hole and keep the rounded corner as large as possible at the corner. (The back wall can be covered)
2. All cut corners must be polished three times, that is, 50#.150#.500#. Ensure that the edge of the hole is smooth and without cracks.
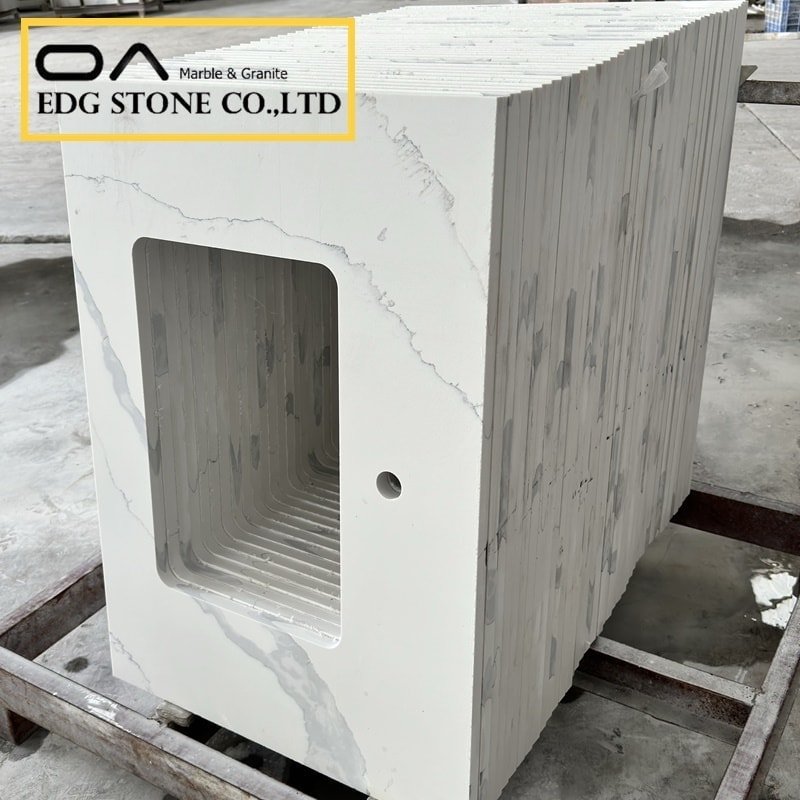
Processing and installation of under counter basin:
After opening the hole in the under-counter basin, compare the shape of the basin to polish and polish the sides, then use toning glue to tightly combine the sides of the basin with the countertop, and put small quartz stones close to the edge of the sink evenly around the sink, and then place the quartz The stone block is installed on the edge of the small quartz stone block and the sink, forming an “L” shape with the small quartz block to ensure a fixed groove.
Heat insulation treatment of stove:
When installing the countertop, take effective heat insulation and heat dissipation measures. There should be a gap of at least 5mm between the lower part of the stove and the countertop. Double-layer tin platinum is used for heat dissipation treatment (for stoves with high heat dissipation function and firepower, it is best to use glass fiber insulation cotton for heat insulation treatment, or red paper and tin platinum tape can be used together). The matte surface of the tin-platinum paper faces the stove and the countertop, and the bright surface faces each other, forming a bell mouth.
Processing of flat table tops and under-table cushion strips:
1. The products passed from the previous process must be inspected, and unqualified products should be rejected.
2. Read the drawings first, and be aware of the places where wooden slats and boards are needed.
3. When laying wooden slats or planks under the joining table, all dimensions should be calculated in place, and the push table should be used as much as possible to avoid using a jigsaw to saw the wooden slats or wooden boards skewed.
4. Before joining with the glue of the same color, clean the bottom of the countertop and place them in order. The sawn wood strips or boards should be neatly and then turned over the wood strips or boards, press a small amount and more points, and then add a small amount of the same color glue and quickly move it in place, To ensure that the wooden mat or wooden mat is tightly combined with the countertop, and there is the glue that adheres to the joint, which is smooth and seamless. If necessary, use clamps to match the wooden strips at equal distances. When the same color glue is about to dry, remove the excess Residual glue.
5. Use glue and glue of the same color to connect a 100mm width seam reinforcement strip to one end of the countertop, leaving a part of 50mm, and the length of the reinforcement strip should be aligned with the front and rear wooden strips.
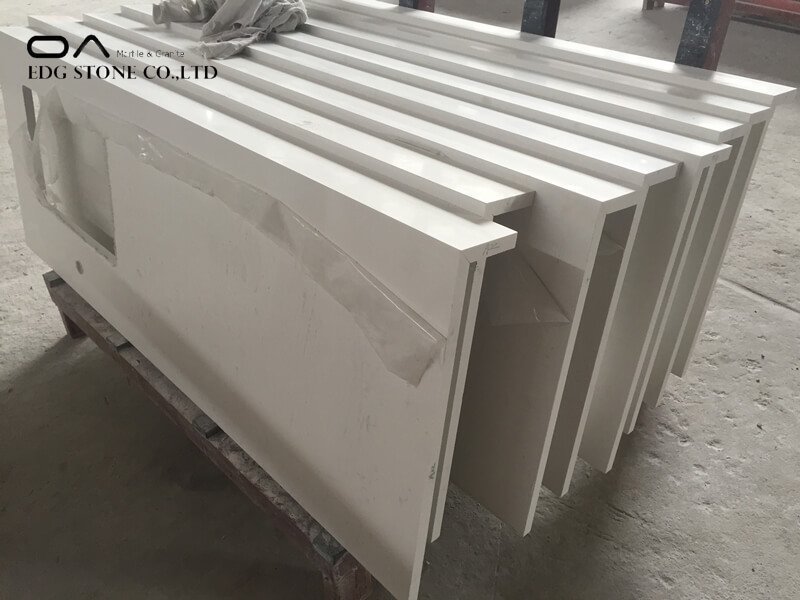
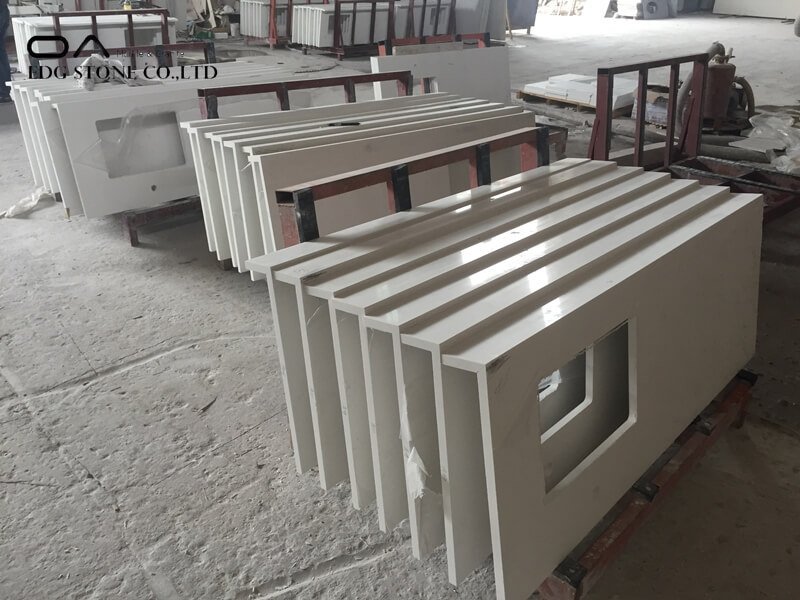
6. Clean all the stains on the countertops, wax the countertops that need to be waxed, and enter the finished product area for storage after quality inspection and approval.
Packaging and transportation:
1. The packaging is in a wooden box with strong nails, and the inner and the board are separated by a 50px foam board.
2. The wooden box is not allowed to stand on its side or upside down during transportation.
3. When the finished product area is installed and transported, it must be fixed in the car with a wooden frame or angle steel frame, and then the finished product must be tied to the shelf.